Page Header

Wednesday, July 11, 2012

Recent Workshop

When creating a workshop I tried to get feedback from crafters to find out what they would be interested in learning. People couldn't tell me what they wanted. So I created a workshop that was not for the newbie and the results were fantastic!

 
In creating this design I thought of earth, air, sun, and water. Each page was created using the Dotty for You paper packet.

This is Sara and she is proudly showcasing her work. This is the first side we worked on. She added a cloud and it looks great!

The second side of this accordian album was all about the color ready products and the white core card stock feature. We applied ink to butterflies and ribbon  by using a sponge. The participants learned how versatile Close to My Heart products are and the great feature of the white core cardstock. They balled up cardstock and sanded it down. The white core was an added texture and feature to the page.


Lynne is Sara's mother and is also an advid crafter. Check out how different and wonderful Lynne's album looks.

Regardless of age or experience this is a wonderful scrapbooking project. Here's a few crafters at work.

I have two favorite features the first, 3D accents such as the hand stamped airplane and banner.

And last but not least is the tree. The tree was hand stamped, then the tree top was stamped again on a separate cardstock. Both was cut and then layered. The tire is a movable embellishment that can freely swing. 

I hope you can swing on by on August 18th at my Open House

Products Used:
CTMH Accordian Album (Z1195), Dotty for You Paper Packet, Cardstocks: Juniper, Sweet Leaf, Smoothie, White, and Dessert Sand, A Garden Stamp (A1119),  Splendid Day (D1462),  Flutter Paper Shapes (Z1463), Life is Tweet Stamp (S1206), Color Ready Seam Binding Ribbon (Z1732), White Ric Rack Ribbon, Sweet Leaf Ribbon (Z1383), Juniper Waxy Flax, Baker's Twine Paradise (Z1702) and Neutral (Z1701), Bitty Brads (Z1367), Red Sparkles (Z1326), Clear Buttons (Z1391), Stardust Glitter Gel (Z1313), and Ink Pads: Honey, Juniper, Outdoor Denim, Sweet Leaf, Olive, Black, Creme Brulee, and Chocolate. Don't forget the Tombow adhesive, Glue Dots, and 3D Foam tape.


Monday, June 18, 2012

Color Ready Ribbon, Butterflies and Flowers

One of Oprah Winfrey's most popular show topics was "My Favorite Things". Well paper crafters I must admit these are SOME Of MY FAVORITE THINGS. Why? Because these items that can be easily colored to match any paper pattern, theme, and cardstock. The versatility is awesome and very cost effective.

One of MY favorite products is the Color Ready Ribbon. You can color this ribbon using your ink pad and a dobber. Another must have this summer are the color ready butterflies and flowers. They come in a neutral color with black newspaper like print and it just magically absorbeds ink. You can use any ink pad in your collection! Use it with chalks and spray water on them and watch the color spread. I just LOVE IT! I have even used markers but I find that the color is just to intense. Smooch them! (No, not kiss them) You can use the Smooch spray on them or any other color ink spray.

Don't have ink spray? Well let me help you with that. Use one of Close to My Heart reinkers (any color of your choice, add water, and put them in one of our misters). That's it! Spray and ink your little heart out. Love alcohol inks. Change the formula above by substituting the water for rubbing alcohol, 90% works best.


This is how small one of the butterflies come but the package includes larger ones too.

Now color them and check out how cute they would look in a card. I used Sweet Leaf and Juniper ink pads and dobber to add this color combination. First use the lightest color then layer it with any darker color of your choice. This pop up card below was designed by my friend and mentor Cindy Leek from Paper Pads and Pictures.


Last but not least, trust me you will love the color ready ribbon with its texture and ease of use. I've also included a YouTube video link that offers a short tutorial on how to color the ribbon. Just check out the video to see how truely awesome they really are.

If you must have it, feel free to contact through this blog or purchase online at my Close to My Heart site at http://www.francisames.ctmh.com/.

Enjoy!

Thursday, June 14, 2012

Father's Day Card Ideas Part 2

Okay, So I've promised some more Father's Day greeting card ideas and here it goes...

This greeting card is what I call an oldie but goodie. The patterned paper is Lucky and is no longer available for purchase. I was lucky enough to still have a few sheets left. I tend to reach out for it for a male themed project. I stamped the image from Live Inspired (C1408) another retired item from Close to My Heart but if it's in your collection it's time to dust it off and put it back into use.

The inside sentiment was created using the Close to My Heart (CTMH) stamp Tag the Occasion (B1362) and punched it out with the CTMH scalloped punch. There's plenty of space to write your sentiment. Did your dad inspire you to take off with your dreams? Is he a pilot? Maybe a song bird?


This next greeting card I took a few extra pictures because I had fun playing with stamping.  Again, I used Pemberly BT, Dessert Sand Card Stock, Colonial White Card Stock, Cocoa ribbon, and natural Baker's Twine.
  • To create the gear images I used the Close to My Heart stamp Vintage Type (D1481) and the Honey ink pad. I had yellow tone bling from many years ago and thought that was a great added touch. You may substitute it with brads for a more masculine look.
  • The star on its cover was stamped using (C1475) in Honey ink pad. I used a foam square to make this image 3D. Remember if you have the Art Philosophy Cricut Cartridge this can be modified by cutting out the star with your Cricut at 1 1/4 inches and make that the 3D image.
  • The word Father was stamped using the Outdoor Denim ink pad and Vintage Type Set Stamp.
  • You're 1 in a Million is just another great element that was created using stamp C1475.

 The inside of the keeps to the theme.

Again I used stamp C1475 to create the bottom right pattern. I used Dessert Sand ink pad so that the color won't dominate the space but just add balance. Repeating the gear patterns on the right using stamp D1480-Vintage Type. Don't forget to add something to the center of the gear.

The Father's Day sentiment is a repeating theme I stamped the sentiment many times using Tag the Occasion (B1362) and made an assembly of the circular tags for various Father's Day card. I used Outdoor Denim Ink Pad. The patterned paper used was Pemberly, the card stocks used were cocoa, dessert, and colonial white.
I believe this last greeting card is a great fit for the military dad with it's stars resembling metals and gears reminding him of his hard work being appreciated. In one word, it says thanks for being my hero!
Wednesday, June 13, 2012

Father's Day Card Ideas

Last year in my search for great greeting card ideas for Father's day was dissapointing. I've seen so many versions of neck ties. They were all very nice but not all dads fall into the traditional role. We also have father's that don't wear neck ties to work. There are firemen, police officers, chefs, artists, musicians, etc. How about priests, they are father's right? Well maybe it's just me I wanted to see something and say ,"Now that's very clever! Or that fits my dad." I have sold so many Father's Day greeting cards because I think outside of the box. Most of the time I don't have enough time to even take a picture before they are sold. Why? Because not all father's fall into the same traditional category of business man, fisherman, or handy man. So why do so many handmade greeting cards have these themes?

I created a few of what I call my traditional generic cards below but I'm hoping you will be inspired to think outside of the box. However, I'm hoping my readers will be "Thinking Outside of the Box" and create inspiring greeting cards. I'll give you a hint on some great ideas check out the Close to My Heart stamps Born to Ride, and Super Hero. Check out the blog Paper Pad and Pictures dated May 8th and May 26th. There are some really great ideas, and I created one on Cindy's blog featuring a Super Hero.

The challenge I find in creating unique greating cards is finding the right stamps. Close to My Heart always has great products to choose from and I will continue to post more pictures for you to see this week.
I made the above card using a clear acrylic card sold through Close to My Heart. I used the Pemberly paper packet to cut out the strips of brown and denim blue for the front cover. I also glued the same color strips for the back of the front cover. Using the natural color Baker's Twine to add a more masculine touch to the front. The tag was cut using the Art Philosophy Cricut Cartridge, and stamped the greeting that can be found on Tag the Occasion Stamp (B1362). For the inside of the greeting card I used the Pemberly patterned paper (B&T) and rounded it's corners. On the back of the card I rounded the corners of a Colonial White cardstock and then adhered it. To adhere all pieces in place use Liquid Glass! This card fits a standard A2 envelope.


This second card was a bit of a challenge. I tried to use a non-Close to My Heart stamp that I purchased at JoAnns. Like I said, I searched for stamps early this year and I was able to find a dollar acrylic stamp. I can honestly say that I will no longer do so since the quality was lacking. The stamped image is not crisp or clear as you can see in this photograh. I still used it and treated it as a vintage shabby look. All other products I used were from Close to My Heart. I used Outdoor Denim to stamp all images, sponged the corners of the card to coordinate all pieces. I also used cocoa cardstock to mat the stamped image and for a color block. Pemberly is again one of my favorite masculine papers and on the opposite is floral so it can be girly too:) I stamped the tags using Vintage Type stamp (D1481) and of course using the Art Philosophy to cut out those adorable tags in 2 1/2 inch size. Dont' forget copper brads, cocoa ribbon, and baker's twine.

I will post a few more pictures this week. In the meantime, Happy Crafting and Happy Father's Day!

Tuesday, June 12, 2012

Discount on Classes-25% OFF

This is a great deal that Michael's stores are offering. That's 25% off of scrapbooking and cardmaking classes. So if you ever thought of it but decided not too, then now is your chance. Offer ends on JUNE 23rd.

Sunday, May 13, 2012

May and June Workshops - Conshocken

I am now also teaching at the Michael's Arts and Craft store located at 104 Alan Wood Road in Conshocken, right by the Home Depot and IKEA stores.

Here's my calendear for May

Thursday, May 17th from 6-7 PM, Sizzex Test Drive, $10
Saturday, May 26th from 3-9 PM, Crop Night, $5
Thursday, May 31st, from 6-8 PM, NEW Martha Stewart's Crafter's Clay, $25, This clay air dries and embellishments created out of this clay can be used on your scrapbooks.

Wednesday, June 6th from 2-4 PM, Martha Stewart Punch Around the Page, $10
Wednesday, June 6th from 4-5:30 PM, KIDS frame, $15
Wednesday, June 6th from 6-8 PM, tInker Time Ink, Distress and Shimmer, $25. Learn how to create tags like Tim Holtz.
Thursday, June 7th from 6-8 PM, Smash Book, $25
Thursday, June 21st from 6-8 PM, New Card Tricks, $25
Sunday, June 24th from 10am-6pm, Spotted Canary $25. Learn everything you ever wanted to learn about scrapbooking in one day. This is 4 sessions combined into one day.
Wednesday, June 27th from 6-8 PM, Happy Birthday America Paper Party, $25. Create your home decor for the 4th of July Celebrations.
Saturday, June 30th from 12-6 PM, Crop Night, $5. Start or complete your project and win prizes.

To register for this store or for more information, call 610-828-5815.

May Classes @ King of Prussia

As you already know, I am a Certified Instructor for Michael's Arts & Crafts Store located at 200 W. Dekalb Pike in King of Prussia, PA 19406. Here is a listing of my classes and demos for the remainder of this month...

Tuesday, May 15th, 6-8 PM, Spotted Canary, $25 for all 8 hours/4 classes
Friday, May 18th, 6-8 PM,  Cricut Expression 2 Test Drive, $10
Saturday, May 19th, 1-3 PM, OPEN HOUSE, Free, Meet and greet store instructors
Saturday, May 19th, 3-4pm, Martha Stewart's NEW Crafter's Clay Demo, Free, This clay air dries and can be used as embellishments on your scrapbooks.
Saturday, May 19th, 4:30-5:30 PM. Martha Stewart's Glittering Class, $10
Sunday, May 20th, 1:00-2:00 PM, Recollections Punch Demo, Free
Sunday, May 20th, 2:00-7:00 PM, CROP Night, $5, Work on your projects and win free prizes!

To register for these classes, please visit or call the store at 610-265-2196.


Happy Mother's Day

I wanted to wish a Happy and Healthy Mother's Day to all mothers and honorary mothers. Your love, wisdom, and work can never be repayed but we are eternally grateful even if we don't always express it enough.


God Bless All Mothers!

Sincerely,
Francis Ames

Wednesday, May 9, 2012

Doctor Ames

Something new has been added to my blog, a PHD badge, found on the left. I've just earned my PHD through Close to My Heart. I am knowledgeable in business, card making, paper crafting, and scrapbooking. It has been an awesome learning experience for me. The title is great but the information is priceless. Many people may discount it because it is not from an accredited college /university but it still means alot to me.

Thank you Close to My Heart. Thank you Cindy for your encouragement.

Saturday, April 14, 2012

Sketched Out 2

Another new Micheal's Scrapbooking Class called Sketched Out. This class allows students to create a two page layout and a greeting card following a pattern. It's a great way to complete three projects in two hours. I hope you enjoy the picture below. Students can reuse this sketch to match the season or theme.


Like what you see? The next Sketched Out Class will be held on Sunday, April 29th from 2-5 pm.

Friday, April 13, 2012

I LOVE DOTTY :()

Dotty for You is an exclusive paper packet promotion through Close to My Heart. It cannot be purchase as a stand alone item but only as a special bonus for loyal customers. How to get this exclusive deal?


  • When you place an order of $35 or more in products from the Spring/Summer 2012 Idea Book between April 17 and May 31, you may add the Dotty for You paper packet, valued at $19.95, for just $5.  
  • Dotty for You includes 24 specially designed, coordinating B&T Duos® sheets (2 each of 12 patterns) and an artwork idea insert to get your creative juices flowing.

But that’s not all! There are two ways your to get this darling paper packet FREE!
  • Hostesses will receive a free Dotty for You paper packet when their Gathering sales total $400 or more (excluding tax, shipping/handling, and Operation Smile donations).
  • New Consultants who sign up between April 1 and May 31 (two full months!) will receive a free Dotty for You paper packet with their kit.
Spread the word and help us celebrate National Scrapbooking Month in May with this exclusive Dotty for You paper packet promotion.
Dates Specials:
Customers/Hostesses: April 17 (9:00 am MDT) – May 31 (11:59 pm MDT)

Would you like to recreate the projects in this image?  The products used in the image are listed below and qualify for the exclusive paper packet, “Dotty for You”.

Monday, April 9, 2012

Happy Easter My Peeps!

Happy Easter to all my craft buddies!

I have been busy crafting and spending time with family and friens; and obviously feel behind in my posting of my work. I created this cute easel greeting card. It was created using Recollections cardstock, patterned paper, and CTMH stamp. I love this stamp because the sentiment reads "Happy Easter to My Peeps". I water colored the bunny and eggs.


Thursday, April 5, 2012

April's Stamp of the Month

April's Stamp of the Month (S1204A) is very verstile and it's the type of stamp set that can be easily become your favorite. Create backgrounds for your scrapbook layouts, greeting cards, and paper projects.
Purchase these or other products (to total $50), and get the Stamp of the month for only $5. Available only April 1-30, 2012.
  • Bright Blue Cardstock Shade Pack (X5902) $7.95
  • Mini-Medley Accents Black Collection (Z1393) $4.95
  • Dimensional Elements Stars (Z1680) $3.25
  • My Creations All Sorts Mini Albums (Z1224) $5.95
  • Color-Ready Evergreen Cork Shapes (Z1719) $3.95
Recommended Acrylic Blocks: 1"x1" (Y1000), 1"x 3 1/2" (Y1002), 4"x5" (Y1012)
Stamp of the month can be purchased for $17.95 (S1204)
francisames.ctmh.com

Tuesday, April 3, 2012

We Love Paper Crafts

I've now started a Meet Up group to help enable paper crafters like you! I hope we can meet up some time. Check out my schedule and rsvp.

<a href="http://www.meetup.com/r/inbound/0/0/shareimg/http://www.meetup.com/WeLovePaperCrafts/?a=shareimg">img border="0" alt="WeLovePaperCrafts" src="http://img.meetup.com/img/logo_82.png%22%3E%3C/a>

Friday, March 30, 2012

Milk Carton Template

Hi Paper Crafters!

I've been busy working on mini albums, paper crafts, and greeting cards this past week. It's been great creating once again just for me:) Since I won Crafting by Design's random drawing during their last blog hop. I have been stamping away and will be sharing my creations with you soon enough. Please allow me to just create then I'll take pictures for you to see.

This blog post is for my dear friends that are also scrapbooking instructors. I taught customers how to use their Martha Stewart's Score Boards. We have created rosettes, envelopes, boxes, easter basket, and milk cartons. It's alot of fun! Anyhow, there was some interest in receiving this template and thought everyone would also enjoy them. Milk Cartons make great party gifts. Fill them with your favorite treats, party favors, you name it!

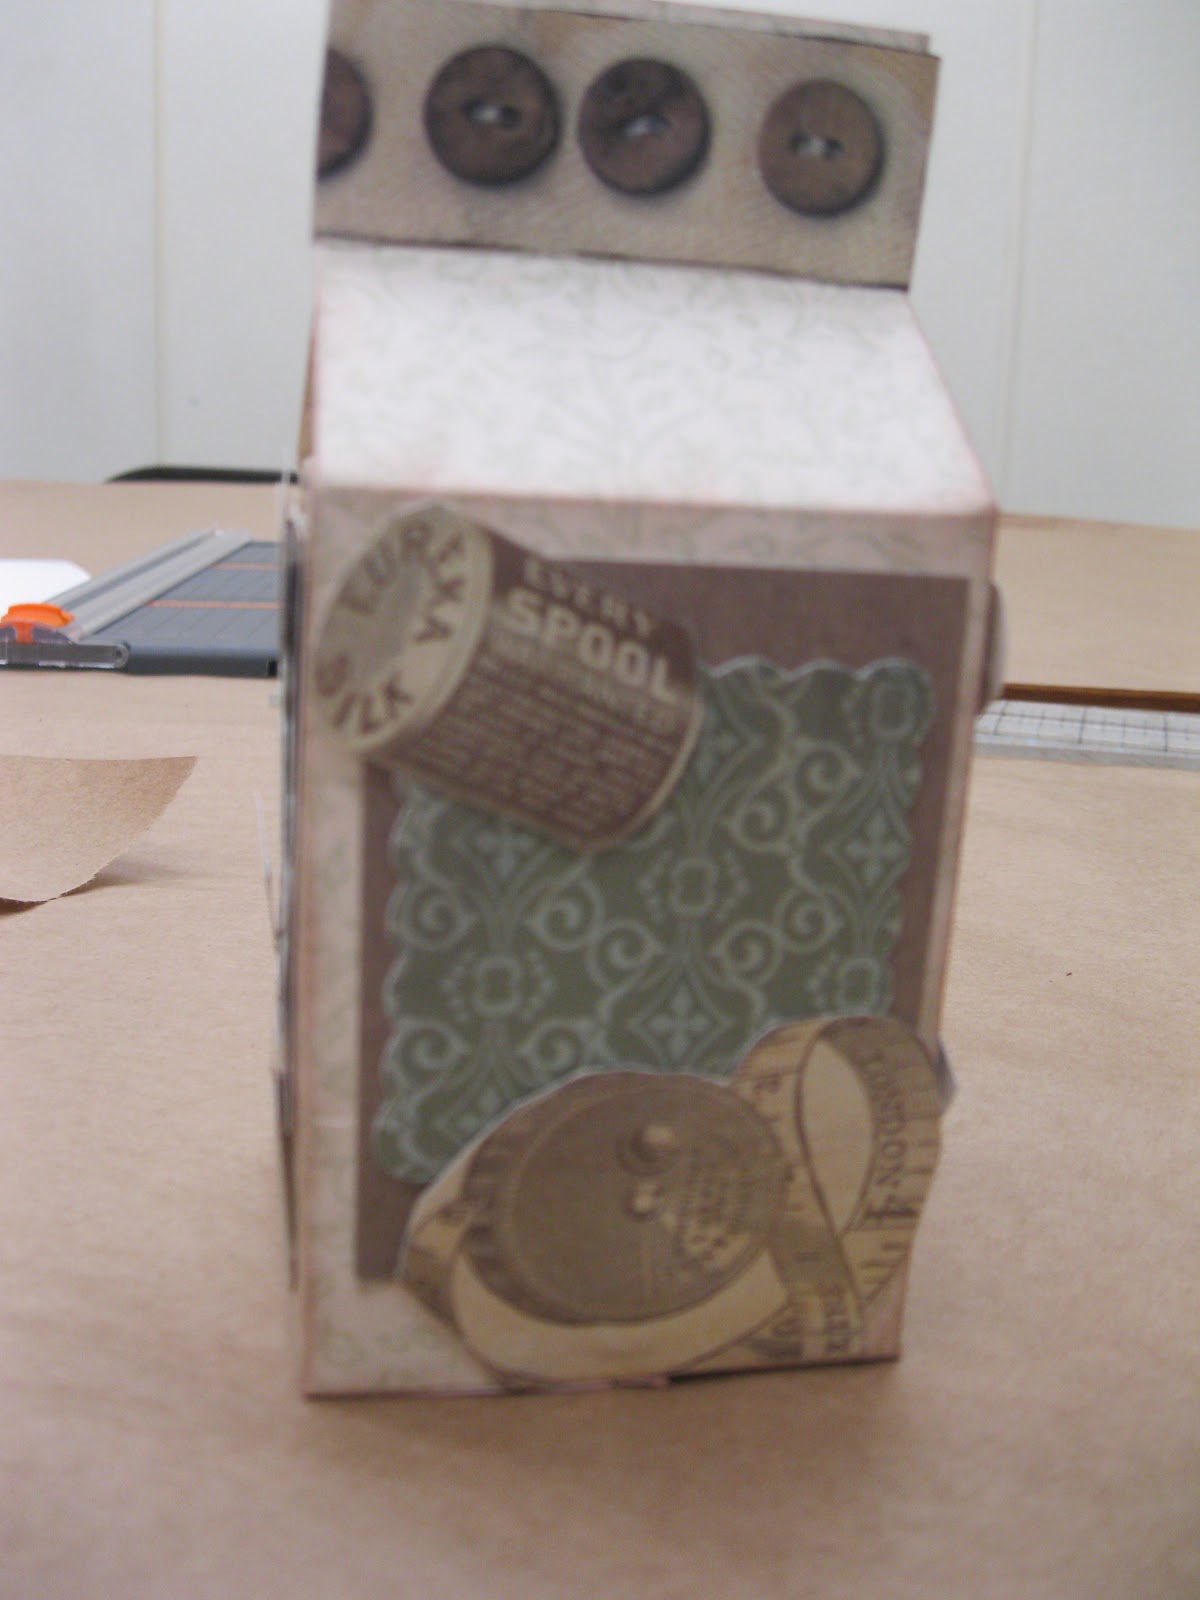
Here are a few pictures of a milk carton that I created and decorated using Recollections paper. As promised I also included my measurements for the milk carton. For the template, you can download it at http://ruthannzaroof.com/mirkwooddesigns/templates.htm and then type milk carton. This site is a great fountain of templates, for those of you that are paper crafting enthusiasts. Have fun and please feel free to share your creations here.


To create your own at the same size above, feel free to use my measurements in the picture below. You may use the template exactly as pictured on  this website (link) by using an 8 1/2x 11 inch card stock.


First place the cardstock horizontally (Not as pictured) and score the lines at 2 1/2 inches apart. Then turn the card stock vertical, as pictured, on your score board. To create the triangular shape, use the Martha Stewart's envelope trangle, turn you paper in an angle like you would to create an envelope then score. You may also just score without using the score board by using a ruler and stylus or by using your paper trimmer and stylus/bone folder. However, using the Martha Stewart Sscore Board makes this project very easy.

Note: The dotted lines indicate scoring and solid lines indicate cutting (paper trimming).

Feel free to ask questions or feedback:)

Sunday, March 25, 2012

What are you doing for Spring Break?

What are you doing for Spring Break? Do you have the kids and not sure what to do with them? Come by the Michael's King of Prussia Store for a Crop. At a crop we work on new or unfinished projects, munch on pizza, and other treats, share and win prizes. A new crafting technique is taught at every crop! Doesn't that sound like FUN!

Our next crop is Tuesday, April 4th from 10am to 4 pm at 200 W. Dekalb Pike, King of Prussia, PA 19401.
Come and drop in for a few hours or stay for the full 6 hours!

Tuesday, March 20, 2012

Interactive Card #1- Blooms & Wings

Interacative greeting cards are always fun. So to keep the Blooms & Wings blog hop theme going I create a waterfall interactive card. I hope you enjoy!


Interactive Waterfall Greeting Cards 1- Blooms & Wings
 Second interactive tab reveals a cute bee busy at work.
Third tab reveals a colorful butterfly.

Fourth tab features a brave dragon fly. While this wise owl knows who's the real star of this show, she is.


Now back to the original front cover.

If you like interactive cards and would like to see more please leave me a message. I will be happy to oblige:)

Monday, March 19, 2012

Crafting by Design Blog Hop

I've just became a member of Crafting by Design. This group of women are so creative it's awe and inspiring. I've just completed a blog hop this weekend and it's fabolous! The theme of the blog hop was blooms & wings. So inspired by the theme I had a go at it. This is what I created.

 This was created using 95 % of Close to My Heart Products.

The card base, the patterned paper, ribbon, flowers, photo mat and coloring are all Close to My Heart products.

First I stamped in Dessert Sand ink the humming bird, followed by the florals. I then watercolored the images using Close to My Heart water color pencils. I matted this picture onto an Elemental paper and then onto cardstock.

This greeting card measures 5"x 4" folded
The elemental patterned paper measures 4" x 4.75".
Center mat  with image measures at 3.75" x 4.5"

Feel free to duplicate this design with one exception. Please accredit the design to Francis Ames.

Products Used:
    * C1464- Unscripted Clear Stamp
    * C1397 - Smiles (Florals and Sentiments)
    * Elemental paper packet
    * Colonial White Ribbon
    * Dessert Sand Ink
    * Close to My Heart Water Colors
    * Inkadinkado Clear Stamp (99120) Patterned Birds and Bugs. 

Saturday, March 17, 2012

Cards in a Flash!

I've been scrapbooking since 2000 but only begun cardmaking for almost 3 years. One day it just dawned on me.."Why am I buying greeting cards when I have all the supplies right here to make one." I figured I might spend half an hour just picking out a card that won't exactly say what I want. Basically, I can make a card in the same amount of time it takes to pick one out and I am recycling my leftover paper. Yippy!

If you are like me a scrapbooker that is also into card making you probably also discovered the same thing I did. Many of the same techniques and principles apply to card making. I really do love giving one of my handmade cards. People cherish them. My family and friends know I don't buy greeting cards but they are my own creations. Now who wouldn't like getting one of these? 

The Thank you card was not created with CTMH products so you can duplicate this at home with supplies you probably already own. Can you guess how I made this? No, not watercolors. No, not pastels or chalk. No, I didn't spray anything on it.

To create the Thank you card, I first heat embossed the image and sentiment with a black embossing powder onto white cardstock. Then I used a sponge to pick up color from a ColorBok ink pad and applied it directly onto the card base. This technique is called resist. Why resist? Because embossed images resist ink. Always layer your lighter colors first then your darker color. I blended two colors to create purple by apply pink then turquoise on top. The strip of paper with the sentiment is also a combination of pink and turquoise blended together.The sentiments were layered onto black cardstock and a small black bow was added for a final touch. I'm sure bling or even stickle dots would also look great. But I wanted something that could mail very easily.


I saw this card design in a free How To flyer at a Micheal's Craft store. I knew I had to make one. It was just too cool to pass up! Don't worry I won't make you guess how. Truthfully, I didn't follow the instructions or measurements and changed it up slightly.

This card is made from a pink card base, and the images and sentiments are stamped onto white cardstock paper. First I stamped the darker images onto strips of, 1 1/4 inches wide, white cardstock paper in a dark purple ink. Then I picked up ink with my sponge and tabed some of the ink off onto scratch paper. and then blended the color onto the strip. When blending the color always start from the outer edge and work your way in. I kept doing this for three more strips of white cardstock. Then I cut the strips in half. I placed the stamped cardstock onto a black cardstock mixing and matching colors. There was a gap in the center that was easily covered up with a sentiment. I used a Martha Stewart punch to create the fancy border-my design idea. I'm sure this greeting card concept could work with a happy birthday sentiment, flowers, butterflies, cake backgrounds, you name it.

Thursday, March 15, 2012

My First YouTube Video!

I am so thrilled to announce that I have finally created my first "viewable"  YouTube video. My New Years resolution this year was to become more tech savvy and to get my PHD from CTMH. 


I want to do a variety of videos including how to videos. The next one I'll be in front of the camera. Yikes! Please check it out and tell me what you think.

Monday, March 12, 2012

Picture Frame & Flower

Hi everyone!

I created this frame and I'm pretty proud of it. At first I was stuck on what I can do with a blank frame. Even though there are tons of possibilities but which route should I take? I wanted to create something that was easy to replicate especially as a family project with children. So I painted it with acrylic paint, cut strips of patterned paper, and cut flowers using the Art Philosophy Cricut Cartridge. I then used Prisma Glitter for extra sparkle on the petals. As you can see I also added CTMH glitter buttons and white Baker's Twine. What I also learned is that you can use CTMH Ink Pads by using a sponge to apply color to the unfinished wood surface. Just pick up a $1 unfinished wood frame and get creative. I hope you are inspired to create one too. By all means feel free to share your creations too.


Supplies used:
  1. Baker's Twine Neutral Assortment (#Z1701) $4.95
  2. Bling Assortment (#Z1635) $4.95
  3. Prism Glitter (#Z134) $4.25
  4. Art Philosophy (#Z1686)

Thursday, March 8, 2012

Cricut Test Drive

This is your chance to learn how to use the latest Cricut Expression 2 Machine. Come and learn the ins and outs of this machine while creating this great layout. It is not necessary to own the machine in order to take this class.


Next time I will be teaching this class will be...

Friday, April 13th (1-3 PM)

Sunday, March 4, 2012

3D Cake and Flower Wow

At Michael's store there's a new class called Flower Wow! We create six types of flowers and add an extra flair to these flowers for an extra texture or look. I've decided to show case six flowers on a 3D cake. I must admit that the CTMH Art Philosophy Cricut cartridge allowed me to create this cake. Using another's CTMH Consultant's inspiration, Lisa Stenz, I was able to follow her YouTube directions to make this creation happen.

The Art Philosophy allows you create many different types of flowers and to cut out pillow boxes. Why is this important? The cake was made out of the pillow boxes glued together and the flowers were cut from this cartridge. In the Michael's course, I show students also how to create flowers with and without the Cricut. However, I must admit that it's much easier using this cartridge. The only thing is you'll need an octagon cut out for the bases. I also own Going Places Cricut Cartride and was able to cut out an octagon shape by using the shaddow button of a stop sign.


In the Flower Wow, students get hands on instructions how to create this flowers and more. The next class will be Saturday, April 7th from 3-5pm at the King of Prussia Michael's Store. I hope you cna join me.

If you wish to purchase Art Philosophy Cricut Cartridge, just follow the above link or go to my website http://www.francisames.myctmh.com/

Thursday, March 1, 2012

Super Hero Mini Album

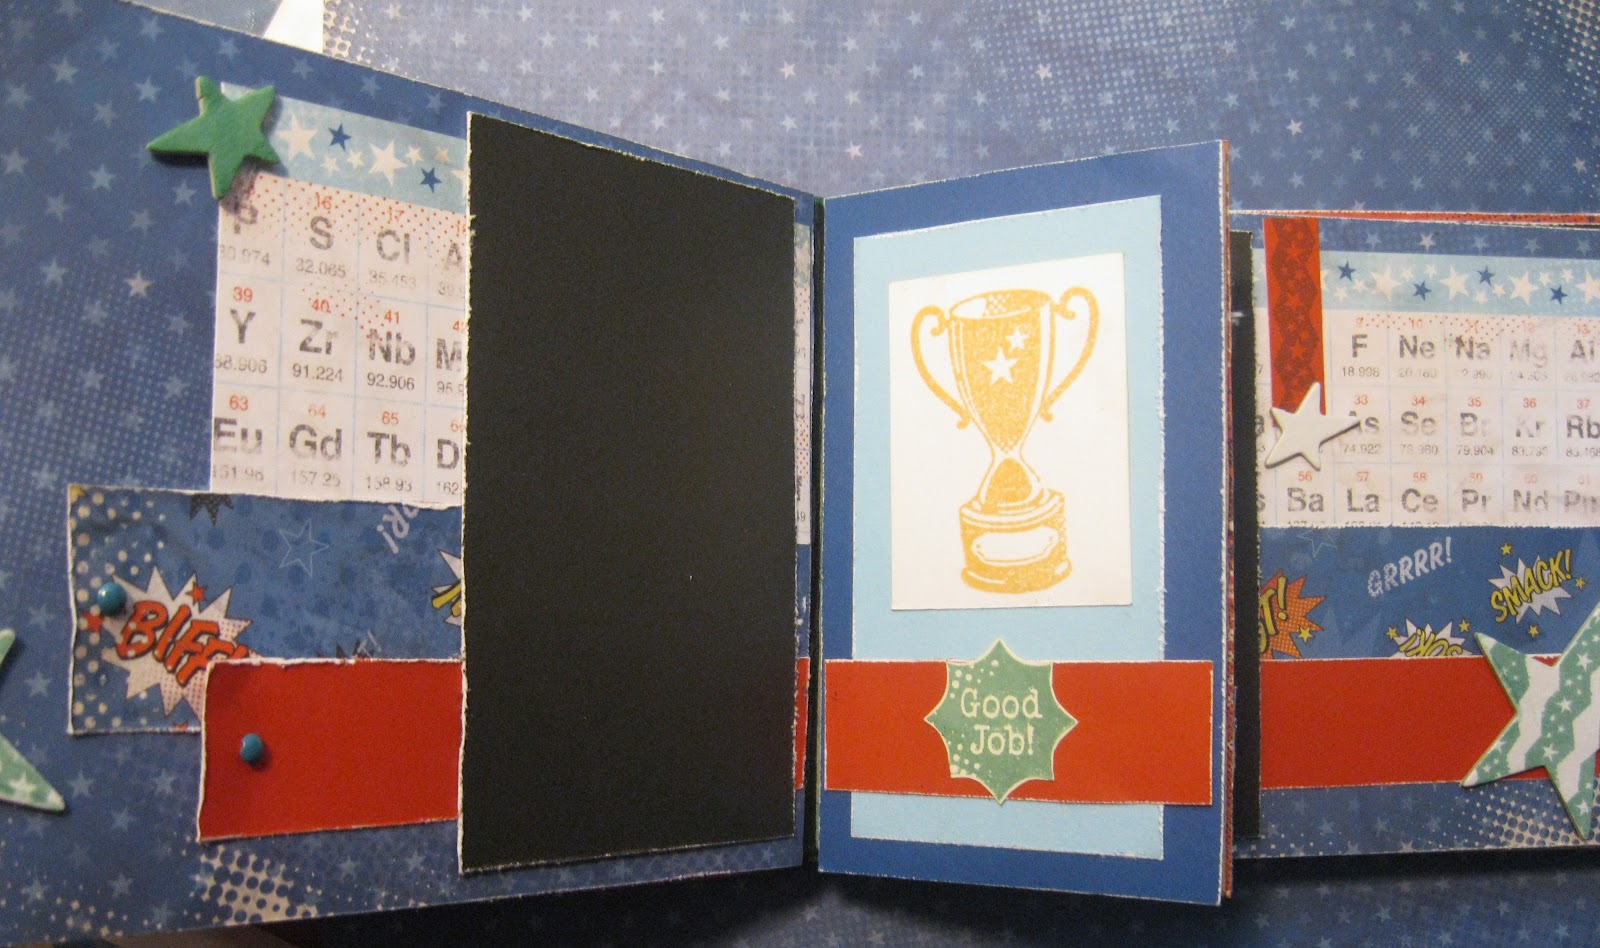
I was inspired by the latest Close to My Heart Idea Book (IB) and fell in love with several Workshops on the Go (WOTG) . One in particular spoke to me. I can never forget how many moms have trouble finding great scrapbooking materials to preserve their memories of their little boys. What little boy doesn't like Super Heros? What struck me is also the featured project of Super Dad mini album on page 46. I love making mini albums and this one acknowledges dad: and I'm a daddy's little girl. Also in using WOTG allows me to create a project and still have materials left over to make 12x12 layouts or a second mini album.

I created a similar mini album as the one featured in Spring Idea Book 2012. As you may have noticed the inside of the mini book is not show. This is where creativity flourishes. I hope you will enjoy my work and become inspired to create your own.


Front Cover similar to book. I watercolored image & used Liquid Glass over the image.


Stamped the rocket image and water colored. Can't forget my Comic Badges embellishments.


Use stamp images, chipboard, and papers for embellishments. Here I colored chipboard stars, used the stamps even on the stars, and layered strips of patterned paper.


Don't forget to use the flaps for journaling opportunities. Here I used Mini Medley and Baker's Twine Embellishements.


Page 5 and inner flap page. I used the paper boarder, stamped images, and let the patterned paper shine.


I really like how the back of the flap turned out. I scored and distressed the paper to show case the white paper core, a great feature of CTMH products.


 I enjoyed challening myself on using scraps of paper in a great effective way. Here I stacked them to add dimension.


Below is the back cover. I hand stamped a word pattern using the Super Hero stamp. 

 The products that I used were
  • Hero Workshop on the Go (G1037)
  • Mini-Medley Accents Pacifica (Z1698)
  • Baker's Twine Neutrals (Z1701)
  • Super Powers Stamp (C1485)
  • Liquid Glass (Z679)
  • Ink Pads: Pacifica (Z2192), Juniper (Z2165), Black (Z2105), Cranberry (Z2116), Creme Brulee (Z2167)
  • Watercolor pencils (3505): Star Spangled,Sunny Yellow, Cranberry-Super hero
  • Paper bags-lunch bag size
  • Lots of adhesive
Feel free to share your creations, comments and questions. Thanks for visiting!