

Showing posts with label Michaels. Show all posts
Showing posts with label Michaels. Show all posts
Tuesday, June 12, 2012
Discount on Classes-25% OFF
This is a great deal that Michael's stores are offering. That's 25% off of scrapbooking and cardmaking classes. So if you ever thought of it but decided not too, then now is your chance. Offer ends on JUNE 23rd.


Friday, March 30, 2012
Milk Carton Template
Hi Paper Crafters!
I've been busy working on mini albums, paper crafts, and greeting cards this past week. It's been great creating once again just for me:) Since I won Crafting by Design's random drawing during their last blog hop. I have been stamping away and will be sharing my creations with you soon enough. Please allow me to just create then I'll take pictures for you to see.
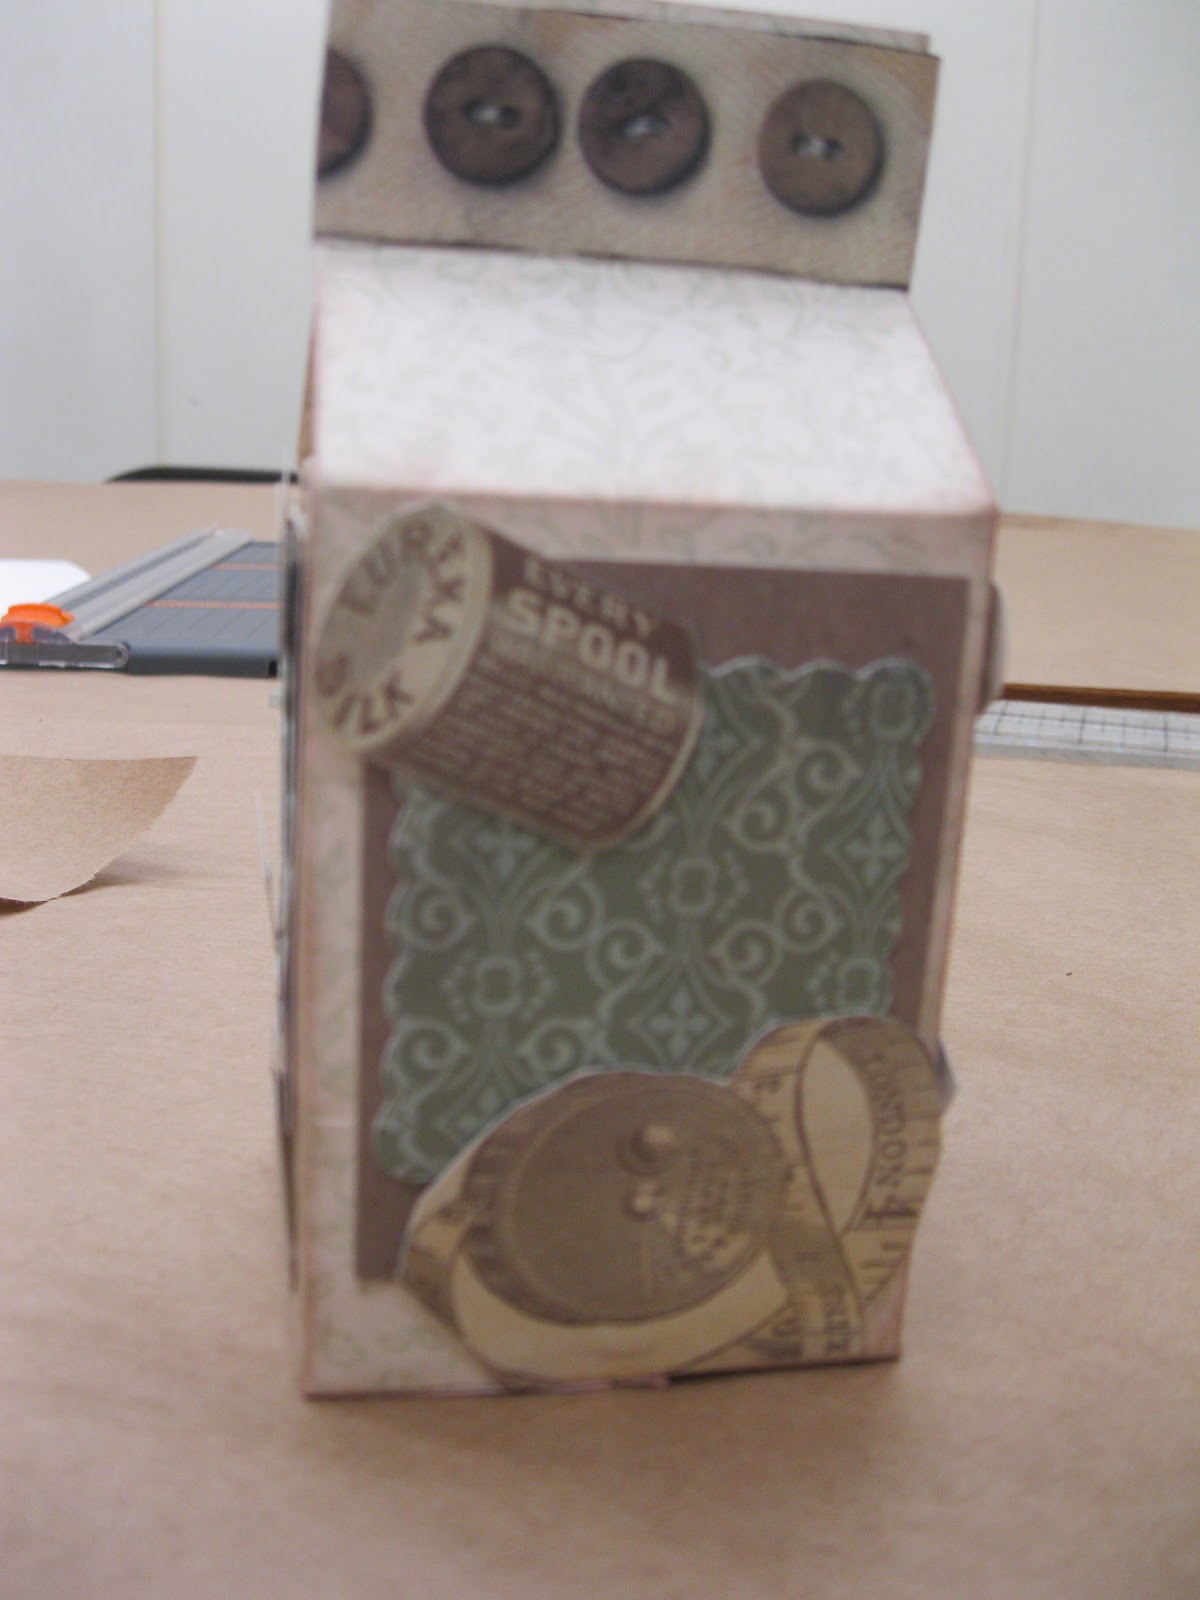
This blog post is for my dear friends that are also scrapbooking instructors. I taught customers how to use their Martha Stewart's Score Boards. We have created rosettes, envelopes, boxes, easter basket, and milk cartons. It's alot of fun! Anyhow, there was some interest in receiving this template and thought everyone would also enjoy them. Milk Cartons make great party gifts. Fill them with your favorite treats, party favors, you name it!
Here are a few pictures of a milk carton that I created and decorated using Recollections paper. As promised I also included my measurements for the milk carton. For the template, you can download it at http://ruthannzaroof.com/mirkwooddesigns/templates.htm and then type milk carton. This site is a great fountain of templates, for those of you that are paper crafting enthusiasts. Have fun and please feel free to share your creations here.
To create your own at the same size above, feel free to use my measurements in the picture below. You may use the template exactly as pictured on this website (link) by using an 8 1/2x 11 inch card stock.
 |
First place the cardstock horizontally (Not as pictured) and score the lines at 2 1/2 inches apart. Then turn the card stock vertical, as pictured, on your score board. To create the triangular shape, use the Martha Stewart's envelope trangle, turn you paper in an angle like you would to create an envelope then score. You may also just score without using the score board by using a ruler and stylus or by using your paper trimmer and stylus/bone folder. However, using the Martha Stewart Sscore Board makes this project very easy.
Note: The dotted lines indicate scoring and solid lines indicate cutting (paper trimming).
Feel free to ask questions or feedback:)
|
Saturday, March 17, 2012
Cards in a Flash!
I've been scrapbooking since 2000 but only begun cardmaking for almost 3 years. One day it just dawned on me.."Why am I buying greeting cards when I have all the supplies right here to make one." I figured I might spend half an hour just picking out a card that won't exactly say what I want. Basically, I can make a card in the same amount of time it takes to pick one out and I am recycling my leftover paper. Yippy!
If you are like me a scrapbooker that is also into card making you probably also discovered the same thing I did. Many of the same techniques and principles apply to card making. I really do love giving one of my handmade cards. People cherish them. My family and friends know I don't buy greeting cards but they are my own creations. Now who wouldn't like getting one of these?

The Thank you card was not created with CTMH products so you can duplicate this at home with supplies you probably already own. Can you guess how I made this? No, not watercolors. No, not pastels or chalk. No, I didn't spray anything on it.
To create the Thank you card, I first heat embossed the image and sentiment with a black embossing powder onto white cardstock. Then I used a sponge to pick up color from a ColorBok ink pad and applied it directly onto the card base. This technique is called resist. Why resist? Because embossed images resist ink. Always layer your lighter colors first then your darker color. I blended two colors to create purple by apply pink then turquoise on top. The strip of paper with the sentiment is also a combination of pink and turquoise blended together.The sentiments were layered onto black cardstock and a small black bow was added for a final touch. I'm sure bling or even stickle dots would also look great. But I wanted something that could mail very easily.

I saw this card design in a free How To flyer at a Micheal's Craft store. I knew I had to make one. It was just too cool to pass up! Don't worry I won't make you guess how. Truthfully, I didn't follow the instructions or measurements and changed it up slightly.
This card is made from a pink card base, and the images and sentiments are stamped onto white cardstock paper. First I stamped the darker images onto strips of, 1 1/4 inches wide, white cardstock paper in a dark purple ink. Then I picked up ink with my sponge and tabed some of the ink off onto scratch paper. and then blended the color onto the strip. When blending the color always start from the outer edge and work your way in. I kept doing this for three more strips of white cardstock. Then I cut the strips in half. I placed the stamped cardstock onto a black cardstock mixing and matching colors. There was a gap in the center that was easily covered up with a sentiment. I used a Martha Stewart punch to create the fancy border-my design idea. I'm sure this greeting card concept could work with a happy birthday sentiment, flowers, butterflies, cake backgrounds, you name it.
Subscribe to:
Posts (Atom)