
Why place an order after October 15th?
Close to My Heart will be featuring a new supplement Holiday Guide to the Winter Idea Book 2013. There's new products including WASHI Tape and ways to earn FREE product. Isn't that work waiting for a few days?
Scandinavian Wishes, October 2013 Stamp Of The Month
Item Number: S1310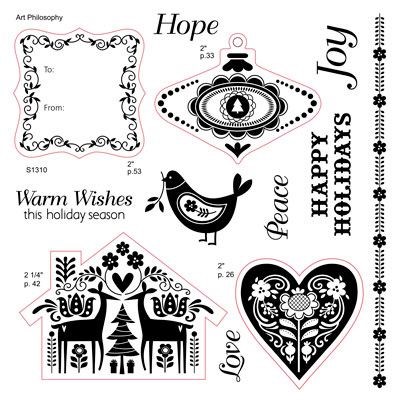

Close to My Heart is wonderful with providing us inspiring projects for us to recreate. This month I've decided to provided you with the instructions here on how to create that darling layout, greeting card, and gift box. Enjoy.
12" x 12" Joy Page

Helpful Hints
To create the techniques featured in this artwork, follow the helpful hints outlined below. Then use the pattern found on page 38 (Make It from Your Heart® Volume 2: Pattern 17) of our Make It from Your Heart® Volume 2 how-to publication for inspiration.
- Cut the following Cricut® Art Philosophy shape using paper of choice, if desired:
- 2" Shift <Heart1> (p. 26)
- Cut the following Cricut® Artiste shapes using paper of choice, if desired:
- 2 1/2" Shift <J> (p. 57)/li>
- 2 1/2" Shift <O> (p. 49)
- 2 1/2" Shift <Y> (p. 46)
5 1/2" × 4 1/4" Warm Wishes Card

Helpful Hints
To create the techniques featured in this artwork, follow the helpful hints outlined below. Then use the pattern found on page 42 (Make It from Your Heart® Volume 1: Pattern 20) of our Make It from Your Heart® Volume 1 how-to publication for inspiration.- Sponge edges of some of the papers with Cocoa ink, if desired.
- Use scallop border punch to create B&T Duos® border.
- Mix and match red colors for a warm pop. We used Cranberry cardstock with Ruby ink stamped images.
- Embellish with paper accents and accessories, adding dimension with 3-D foam tape as desired.
Happy Holidays Gift Box

Helpful Hints
To create the techniques featured in this artwork, follow the helpful hints outlined below.- Add visual interest by randomly stamping the “Peace” image in a tight pattern multiple times on the Cranberry cardstock. Then, cover the ring box lid with the cardstock.
- Attach paper to box, attach Shimmer trim, then stamp border on each side of the box.
- Embellish with paper accents and accessories, as desired.
No comments:
Post a Comment